Free Lesson – Cactus
Beginner Level
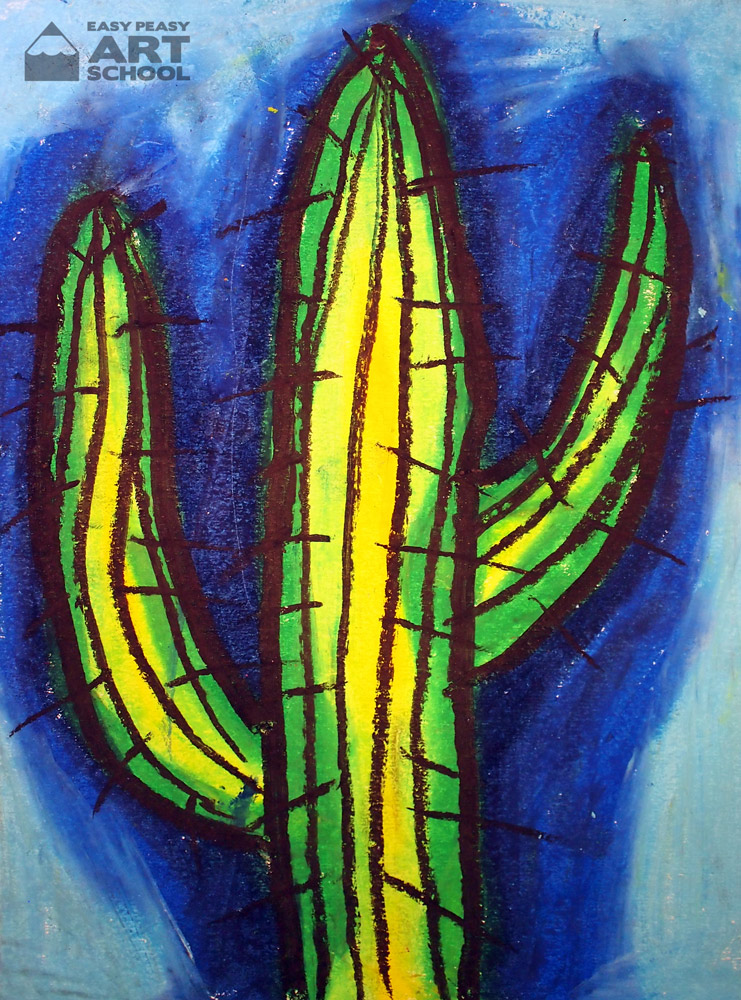
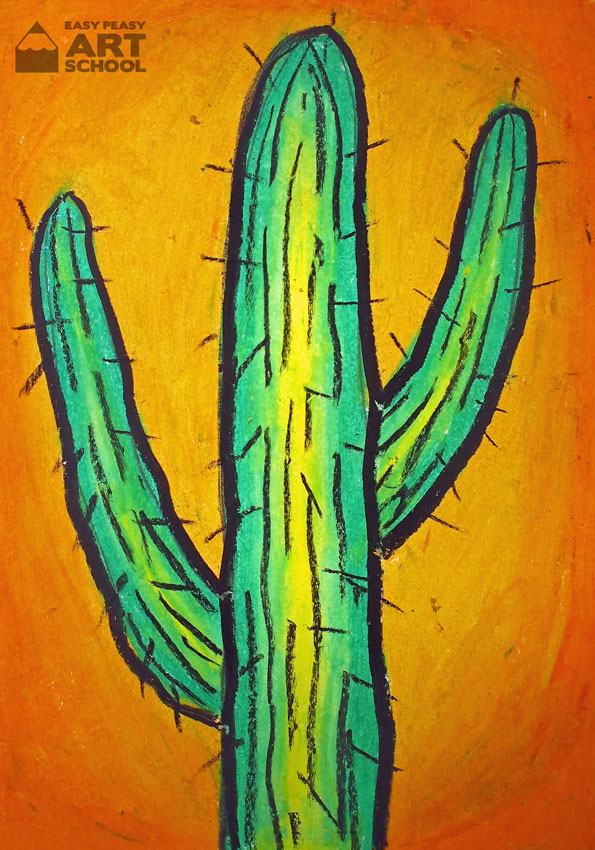
This is a great basic lesson to practise your oil pastel skills of blending and outlining. It’s one of the easiest yet most attention grabbing artworks.
Materials
- White paper
- Pencil
- Oil pastels
- Optional: Fixative or hairspray to spray on your artwork if you don’t want it to smudge.
Easy Peasy Tips:
- Make sure you hold your oil pastel using a key grip.
- Make sure you press hard and use short strokes. Big strokes introduce white spaces in your work.
- Oil pastels look great if you can blend more than one similar colour together in a shape. For example dark and light green or red and orange.
For The Teacher:
- In this lesson we introduce the concept of measuring with ‘finger spaces.’ Finger spaces are a great informal unit of measurement to use in art lessons as it requires no equipment. You may need to demonstrate how to measure using finger spaces with your class.
Steps
Place your paper in portrait style
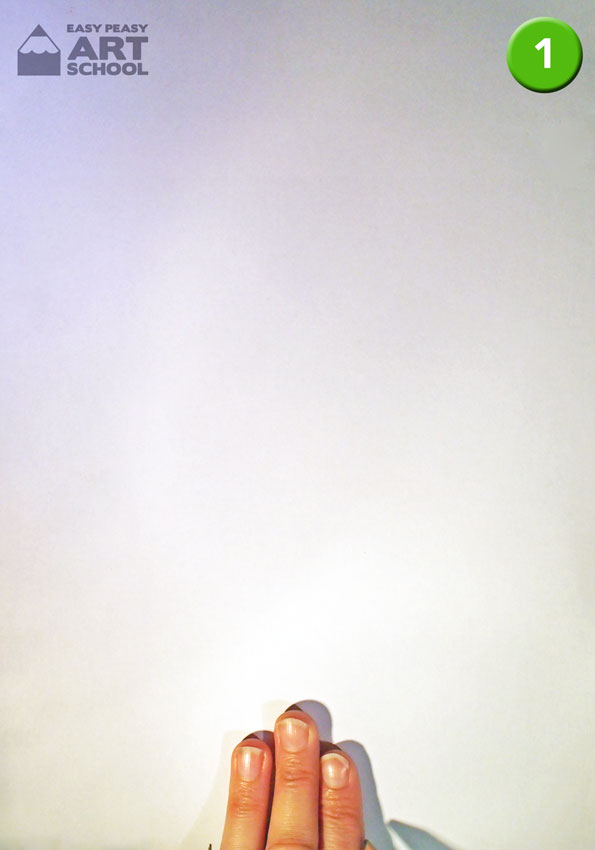
- Drawing: Find the middle of the page at the bottom and place a mark. Now place three
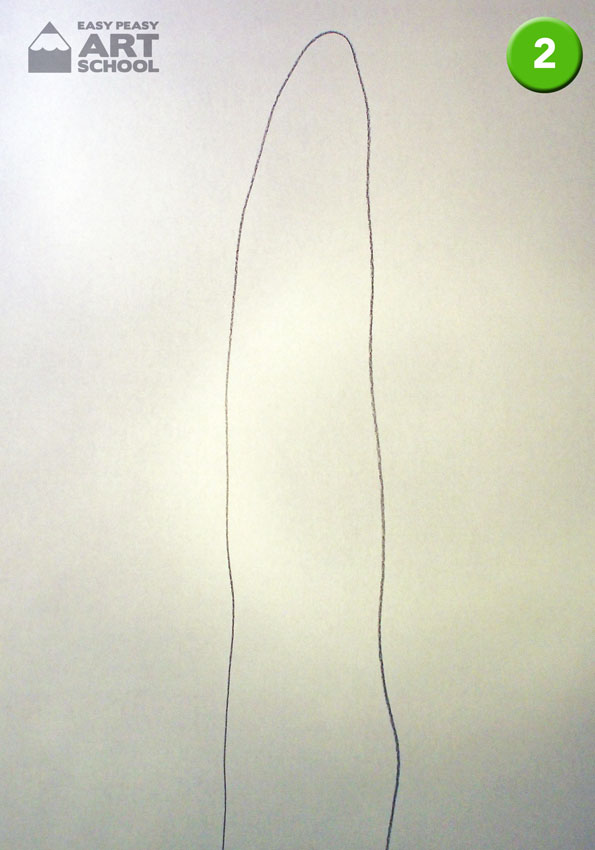
fingers in the middle of the page and make a mark on either side of your fingers to give you the width of your cactus. - Starting at one of your marks, draw a large finger or rocket shape almost to the top of the page and back down again until it joins up with your other mark. It’s ok if your finger shape is a bit bumpy this will make your cactus more interesting!
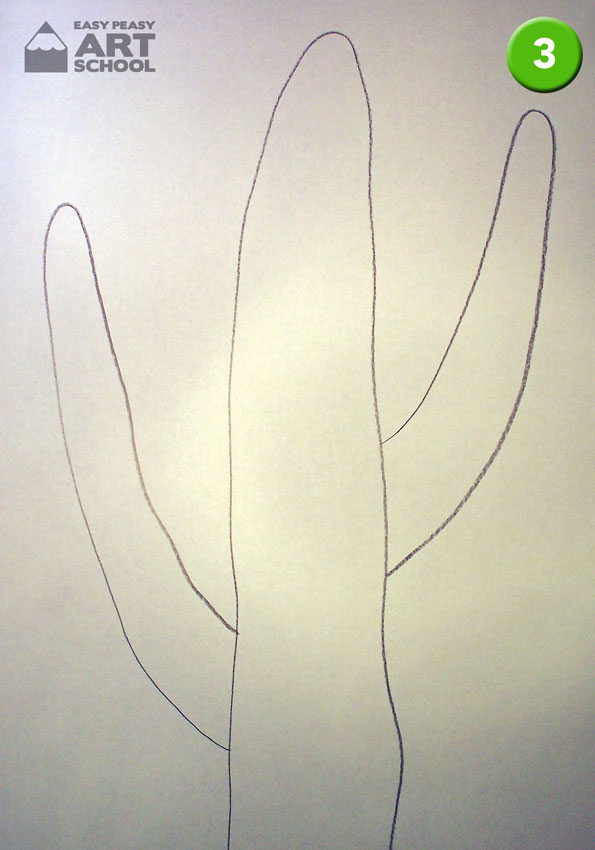
- Now draw some branches on your cactus. These should be a little bit thinner and at different heights on the cactus.
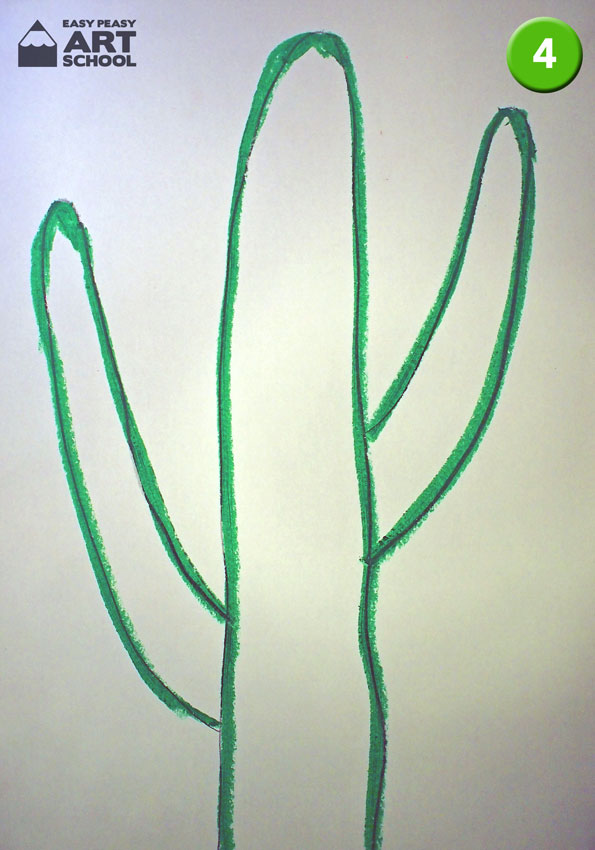
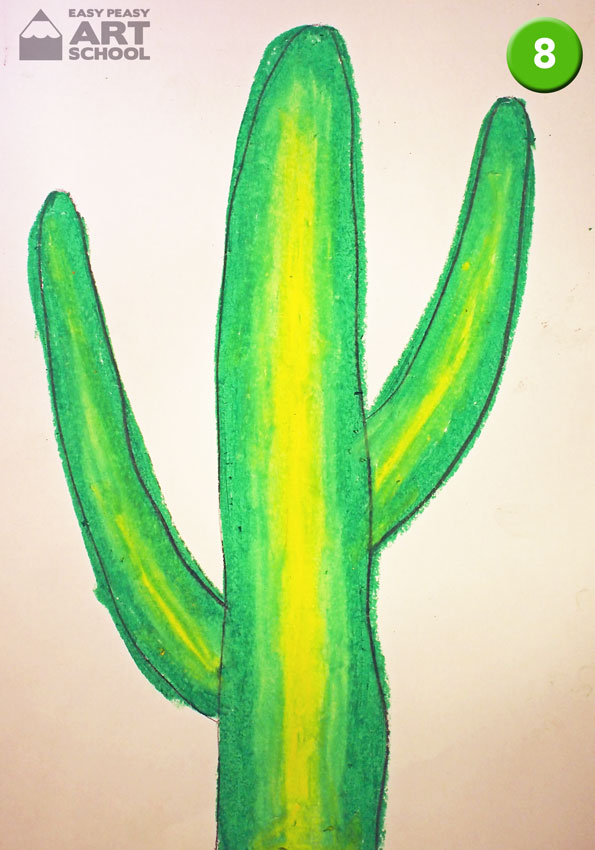
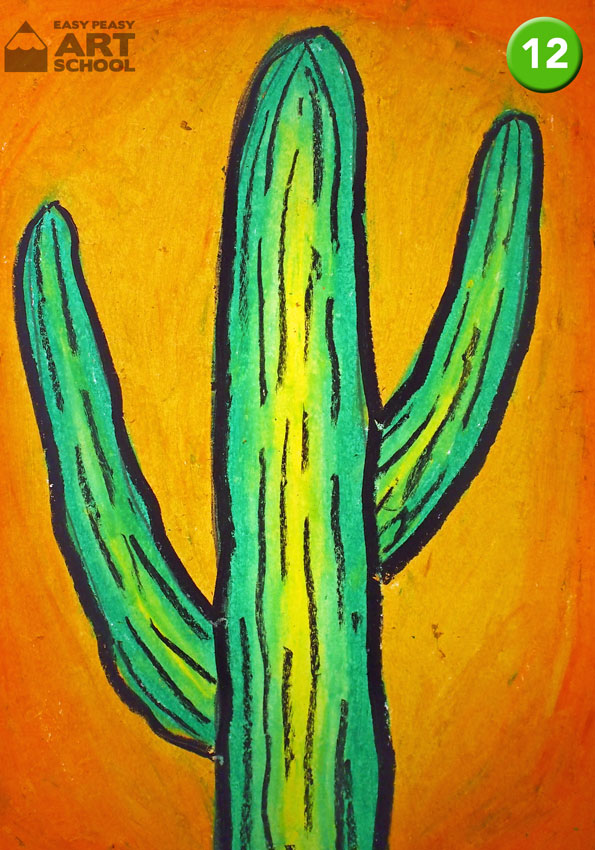
- Colouring: The first step is to trace the cactus using your darkest green.
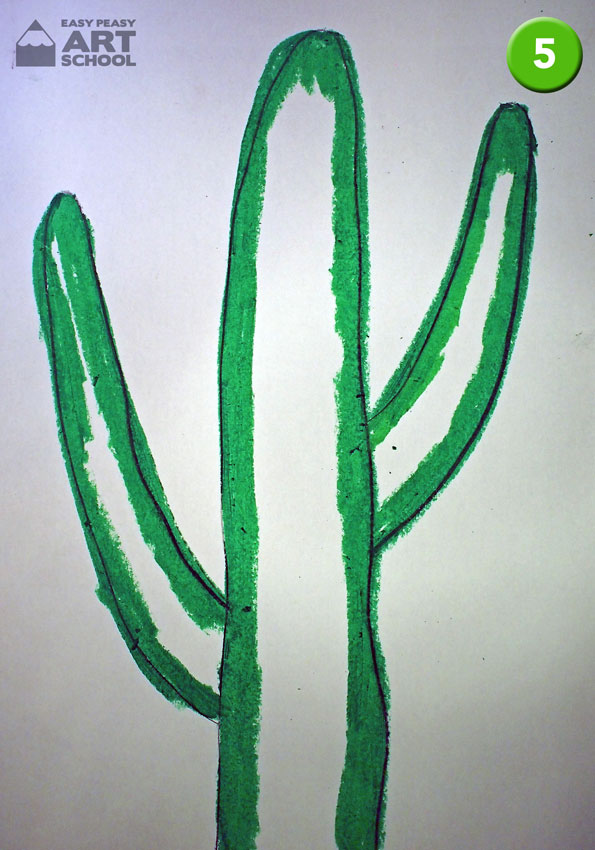
- Next, make this line thinker by colouring in short strokes. Aim at colouring approx. 1/3 of each shape.
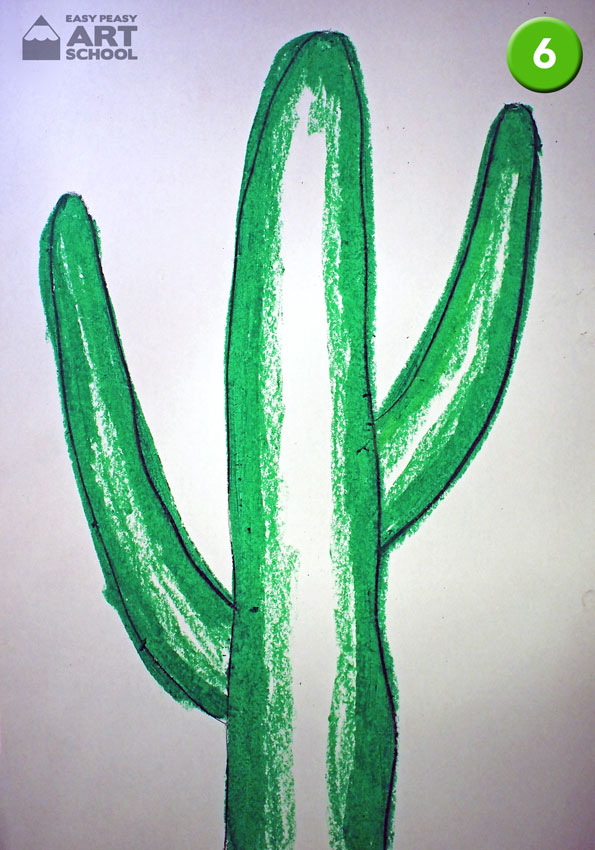
- This next step is IMPORTANT! To blend your oil pastels correctly you will need to add a little bit of lighter shading next to this fat line using the dark green.
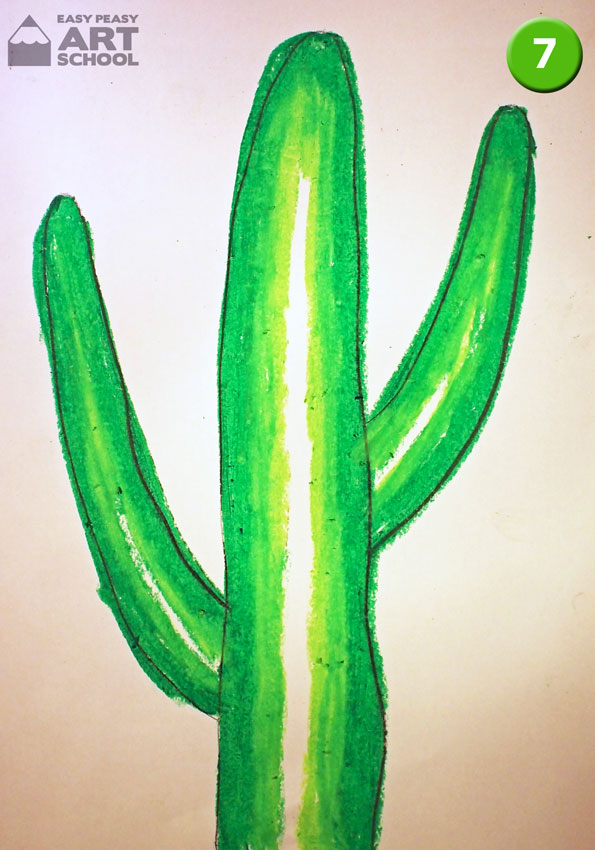
- Now using a light green continue by colouring OVER the shading you just did and colour in most of what’s left of the cactus. Leave a small gap in the middle of each branch.
- Colour what is left with yellow or white and blend over the light green.
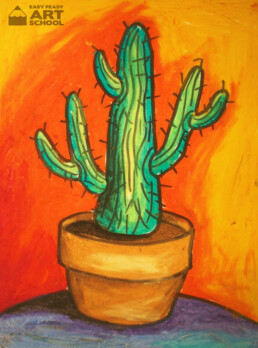
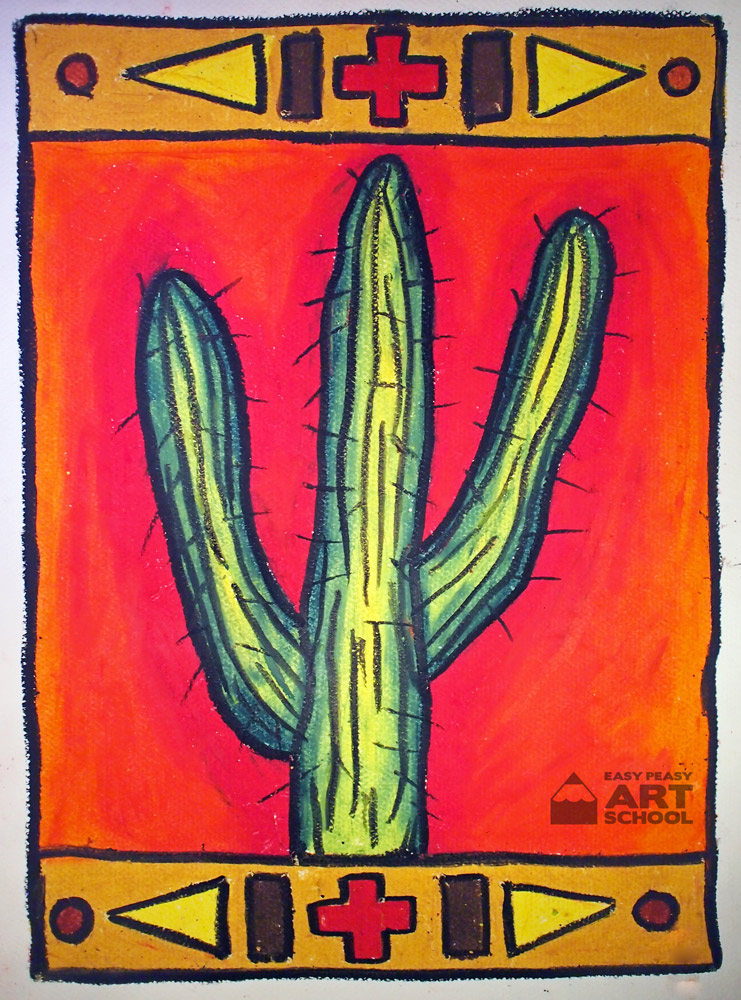
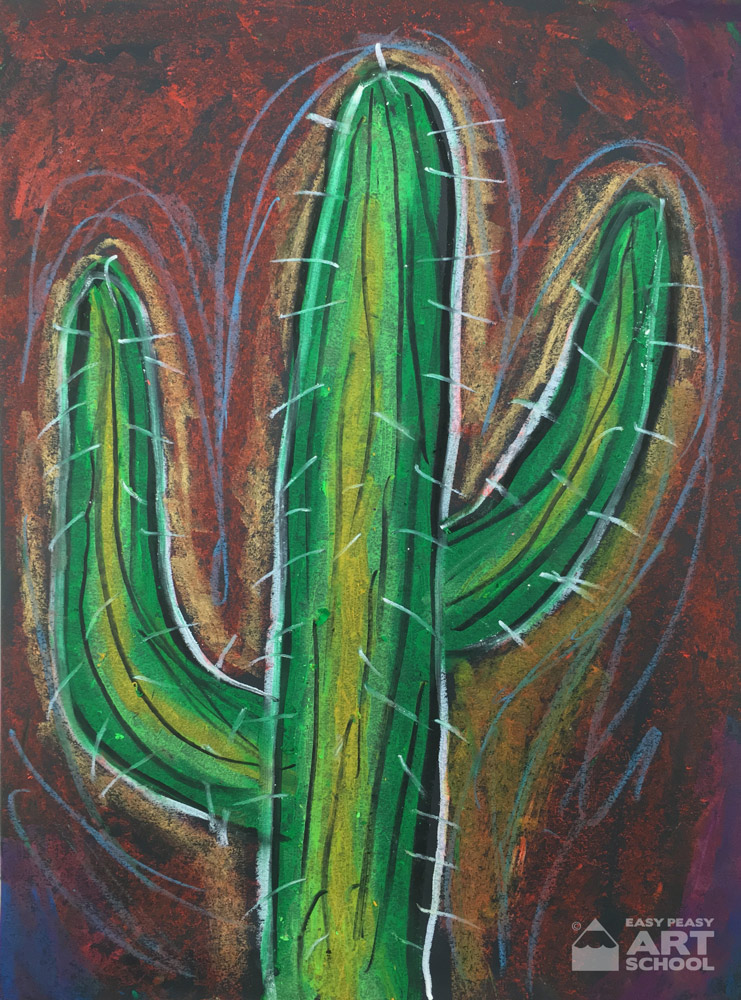
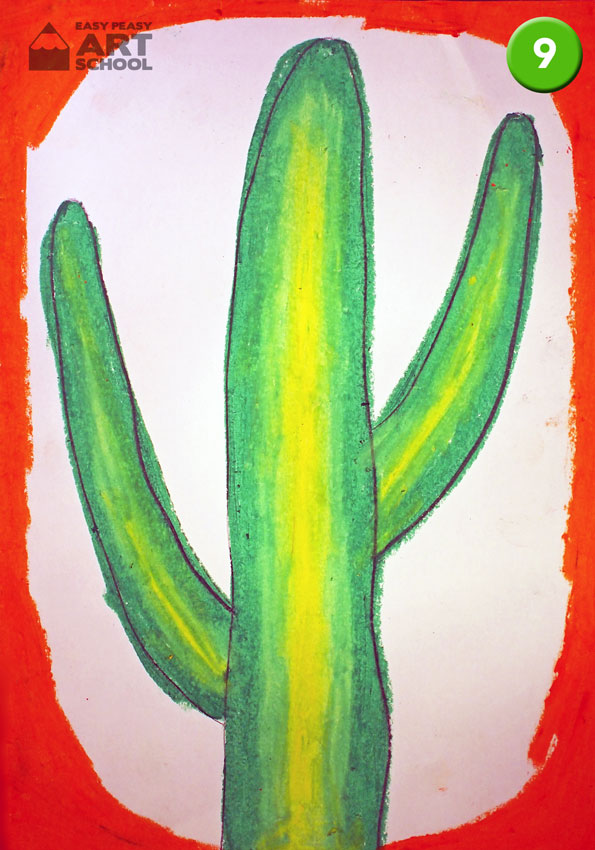
- Now begin the background. Choose two colours that can be blended together and that will look nice with the greens of your cactus. In this case we’ve used red because it’s green’s complementary colour. Begin by colouring around the outside of the page before making it into an oval shape around the cactus as shown.
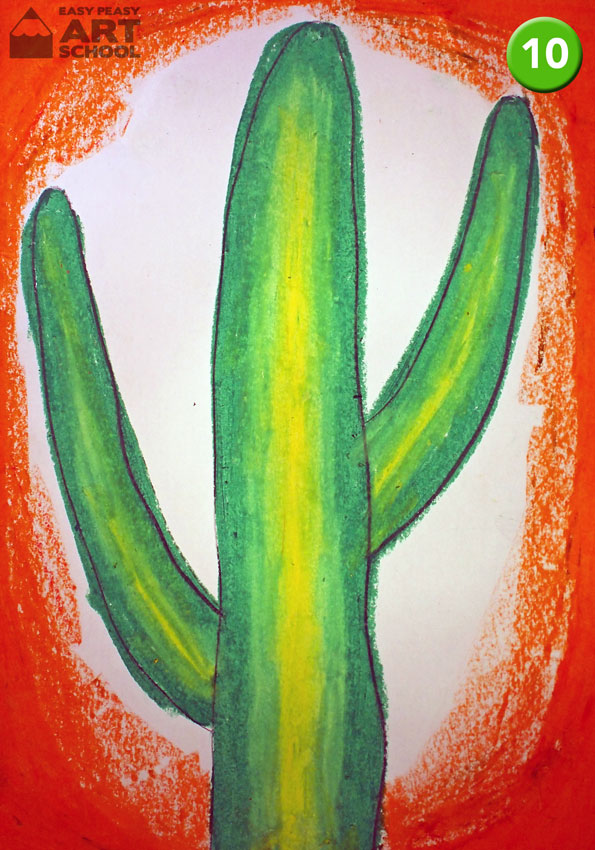
- Add some of the lighter shading as well to help with the blending.
- Colour the remainder of the background with your next colour by first colouring over the shading then filling in the rest of the spaces.
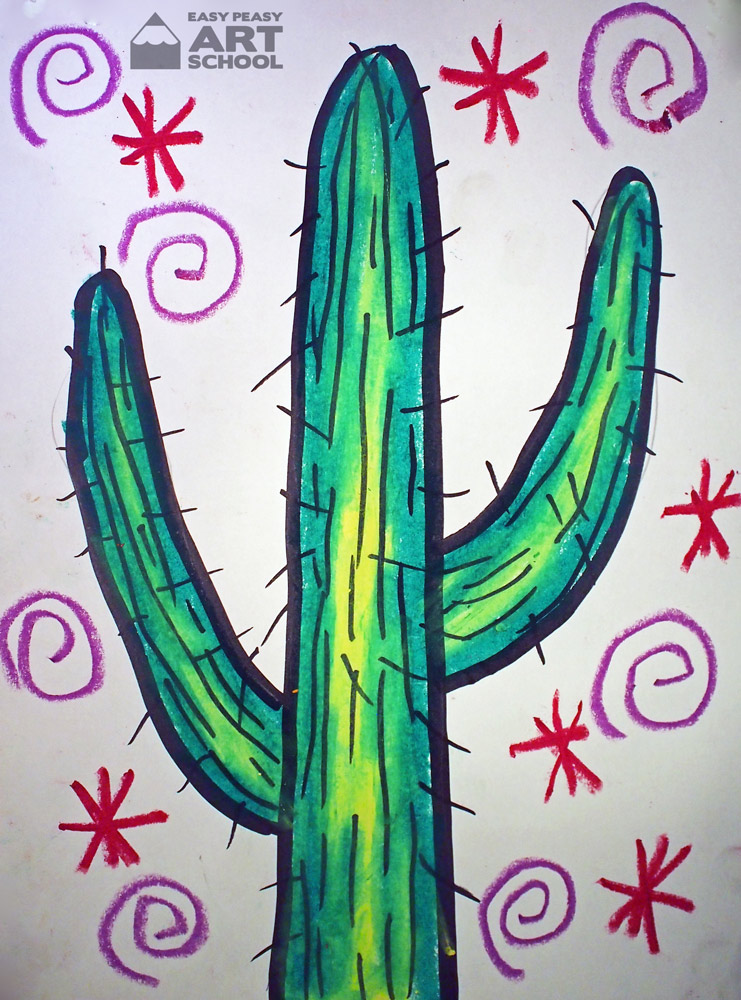
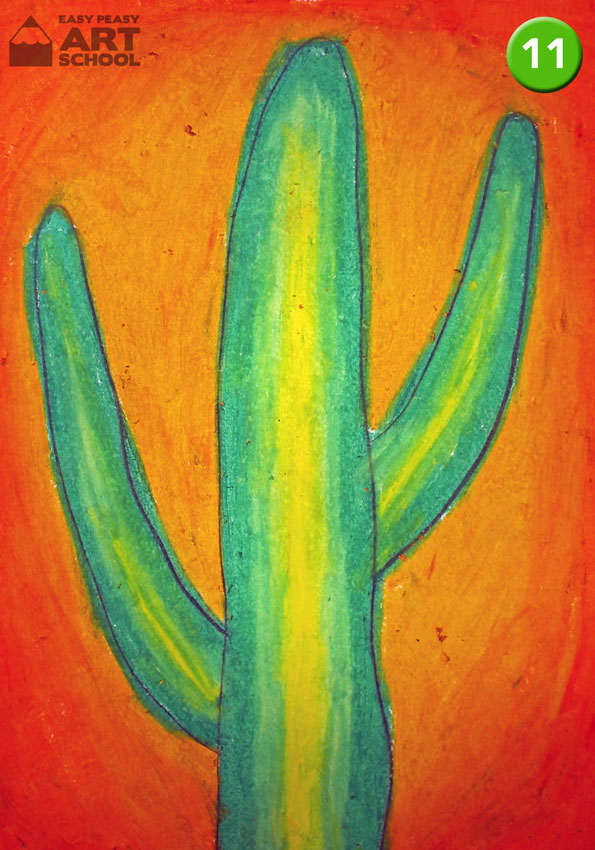
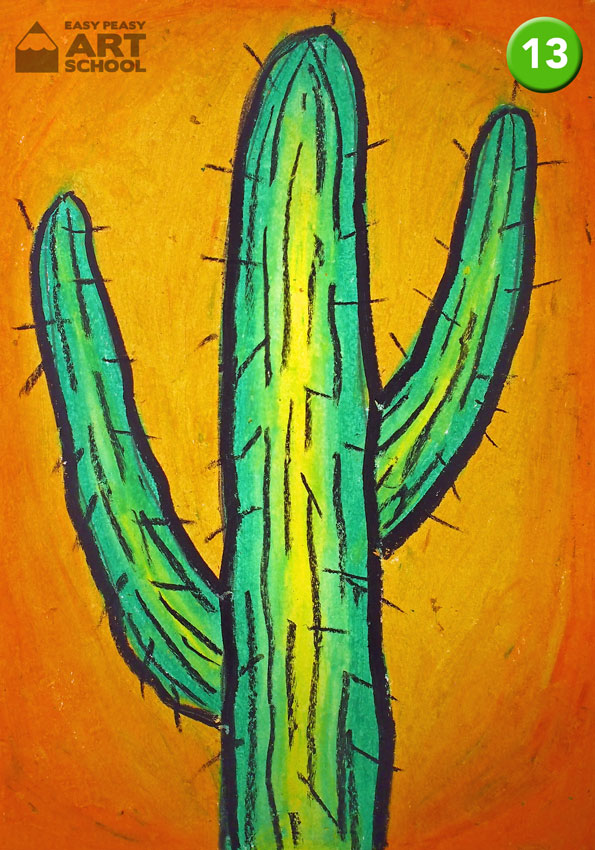
- Trace your cactus in black then add some broken thin stripes on the trunk and branches. When outlining, always press firmly and use long continuous strokes. If you colour the outline it will become too thick.
- Add some thin short strokes as shown for spikes. Don’t add too many or it will look hairy! Finally, check for any spaces in your artwork. Great Work! Your artwork is now complete.
Other ideas:
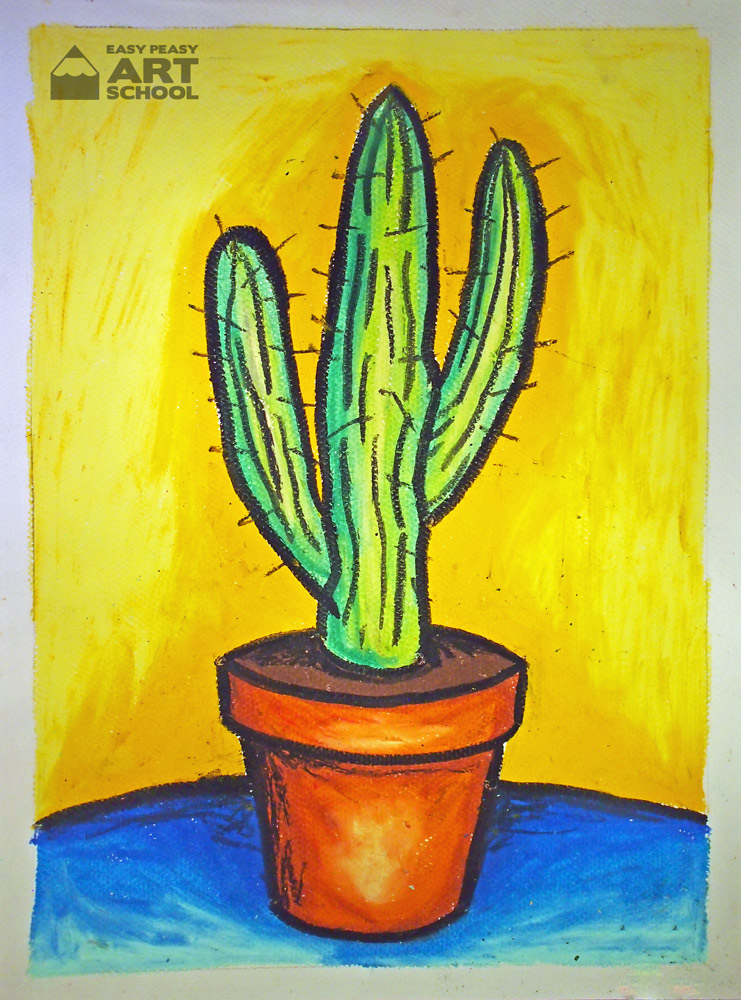
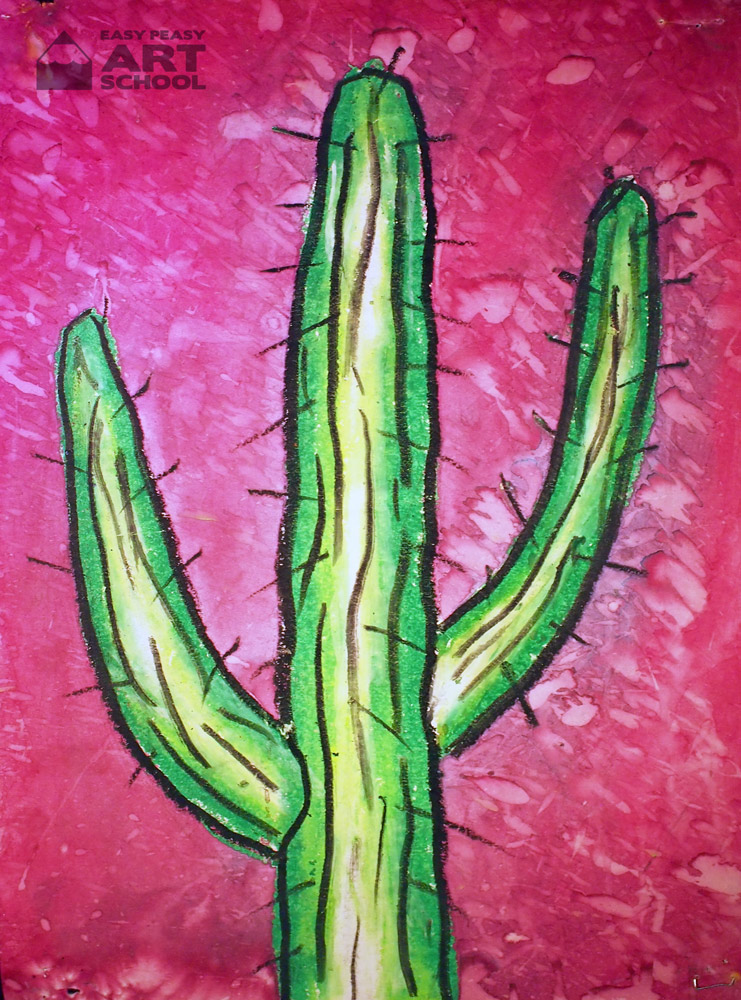
- Try this artwork using soft pastel instead of oil pastel.
- You can also try it on different coloured paper.
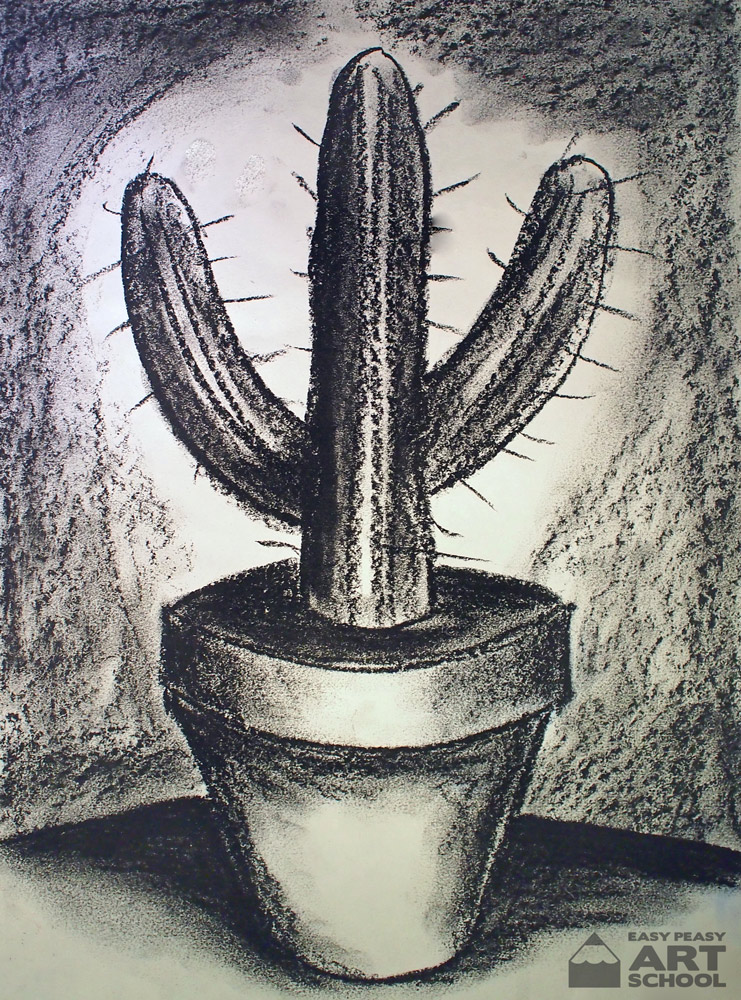
- To make it more challenging, try drawing a simple pot first then adding the cactus.
- You can also do this artwork using a number of other mediums including paint, charcoal, brush and ink, and felt marker.